• Skip to main content
  • Skip to primary sidebar
  • Skip to footer
  • Home Remedies
  • Parenting
  • Green Living
  • Essential Oils
  • Recipes
  • Skincare
  • About
  • Contact
Real Green Mom

Real Green Mom

Real Food. Green Living. Made Easy for Moms.

  • Facebook
  • Instagram
  • Pinterest
  • Twitter
Home » Essential Oils » How to Label & Organize Essential Oil Roller Bottles

How to Label & Organize Essential Oil Roller Bottles

January 19, 2015 by Chrystal Johnson

Jump to Recipe Print Recipe

Learn how to label and organize your essential oil roller bottle blends the best way in this easy DIY organization tutorial.
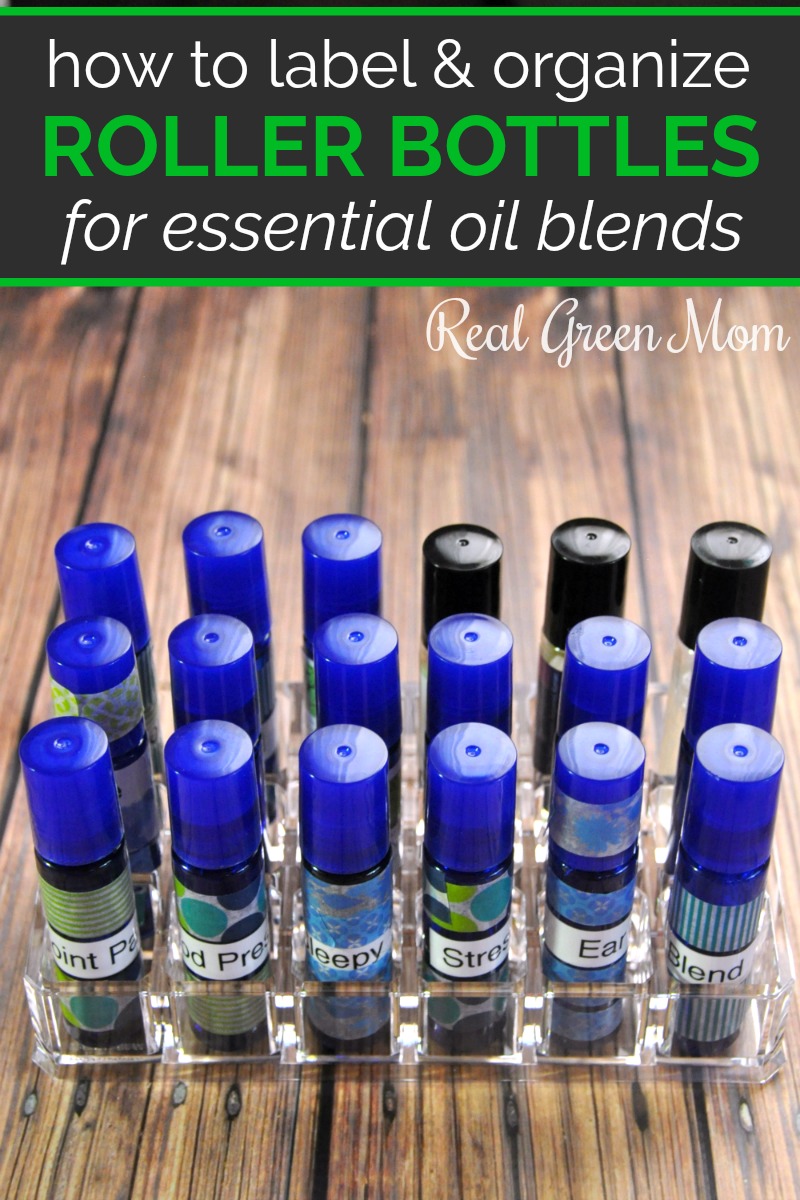
Essential oil blends in roller bottles labeled and kept in a plastic lipstick container for organization

Since getting involved with essential oils, I have accumulated a ton of roller bottles. I am constantly mixing up blends for my family. It’s so convenient to have everything pre-diluted, and it’s much easier to apply as well.

Unfortunately, I definitely lacked organization when creating all of these roller bottle blends. Most of my bottles didn’t have labels and were scattered around the house.

So anytime I needed one of them, I’d have to open each one up and smell them until I found the right one. Luckily I could differentiate each of the smells.

I decided it was time to get more organized with my essential oil roller bottle storage. So we gathered some washi tape that matched our roller bottles and a label maker and sat down to not only label our roller bottles, but to make them pretty and organized too.

This is a simple enough project that you can even get your kids involved with. I found that it made both of the girls even more excited to use the oil blends that are made for each of them once they got to decorate them.
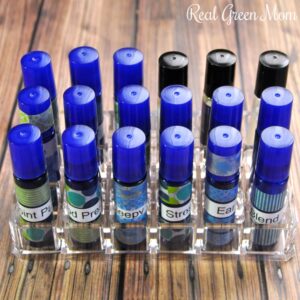
18 blue essential oil roller bottles labeled with blend names and organized in a lipstick organized

How to Label and Organize Essential Oil Roller Bottles

It's easy to keep your essential oil roller bottles organized when you know how to properly label and store them. Learn how in this easy home organization tutorial.
5 from 1 vote
Print
Course: DIY
Cuisine: Essential Oils
Prep Time: 5 minutes minutes
Cook Time: 25 minutes minutes
Total Time: 30 minutes minutes
Servings: 0

Equipment

  • Label maker

Ingredients

  • Waterproof labels for your label maker
  • Washi tape waterproof is best
  • Essential oil roller bottles
  • Lip stick organizer

Instructions

  • Create labels for each of the roller bottles using the label maker. You can even add special icons to some of your labels to make it more fun. My label maker has a ton of different character options.
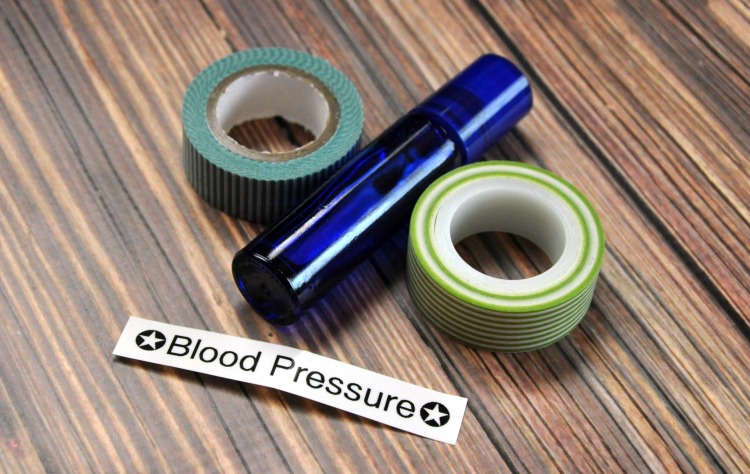
    Blue roller bottle, washi tape and label that reads blood pressure on a wood table
  • Apply the labels to each bottle, then add washi tape to each bottle to make them more fun and festive.
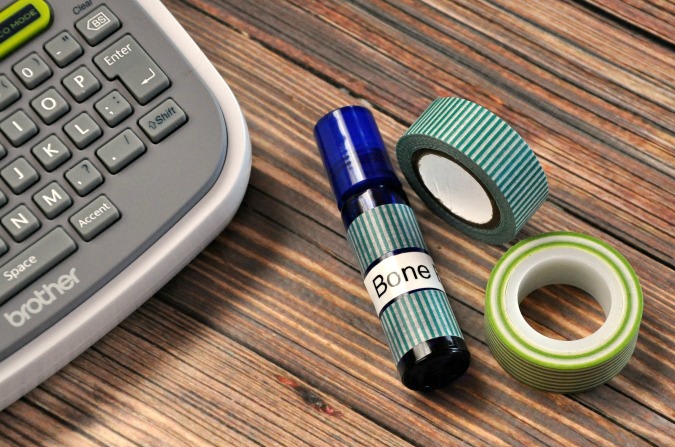
    Blue roller bottle decorated with washi tape and a waterproof label on a table next to a label maker
  • Once they are all labeled and decorated, use a lip stick organizer to store them. This allows you to keep them all in one spot and they won’t fall over this way.
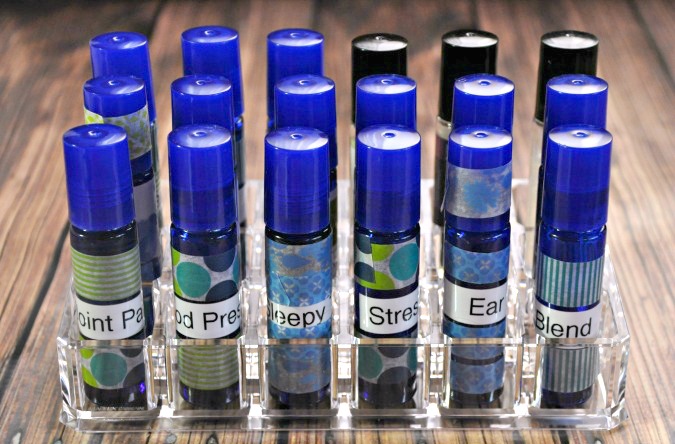
    Sunlight shining on 18 blue roller bottles that have been labeled with essential oil blend name, decorated with washi tape and organized in a clear plastic lipstick organizer

Related posts:

How to Use Sandalwood Essential Oil

How to Use Lavender Essential Oil

How to Use Lemon Essential Oil

Best Essential Oils for Camping

Filed Under: Essential Oils

Primary Sidebar

Search

Get Updates by Email

Earth Mama Hand Sanitizer

20% off Weather Covers with code: WARM

Footer

Recent Posts

  • Homemade Baby Formula: Recipes & Safety Information
  • Nebula Genomics Whole Genome Sequencing DNA Test Kit Review
  • How to Make Elderberry Gummies
  • DIY Sleepy Time Room & Linen Spray
  • 10 Potty Training Tips for Parents

Important Links

About Us
Contact Us
Privacy Policy
Disclosure

Copyright © 2026 · Magazine Pro on Genesis Framework · WordPress · Log in

2.1K shares
  • 21
2.1K shares
  • 21